Herr Engineering F4U Corsair Conversion
(lots of pictures so be patient)
The Herr Engineering
F4U-1 Corsair is a free flight rubber band kit that I converted to RC. I've
always had a love for the bent wing war bird, and after my successful
conversion of the 30" Dumas Bearcat I was looking for a new project. Just like the Bearcat, my goal was to utilize the latest micro
servos from Hitec or GWS (5~6 grams each), micro GWS 4 channel receiver (~4.5
gram), micro GWS 2-amp speed control (~1 gram), GWS IPS-A (Gear ratio: 5.86)
gearbox/motor combination, and a lightweight battery pack (< 2.25 oz). With these components and building the
structure reasonably light, my objective was to end up with a plane that
weighed less than 9.5 oz.
I originally wanted to include the GWS retracts for this conversion, but after
seeing the construction of the Corsair kit I changed my mind. Herr Engineering
uses harder balsa 3/32" stringers as opposed to the Dumas kits, which use
a softer 1/16" stringer. My point is that the Herr kits are built a little
heavier, but shouldn't be too heavy to include all the control surfaces.
For those wondering, I've done some calculations and came up with a wing
planform area around 166 sq. in. The Bearcat has about 170, so I was convinced
if everything went as planned I would end up with a fairly low wing loading.
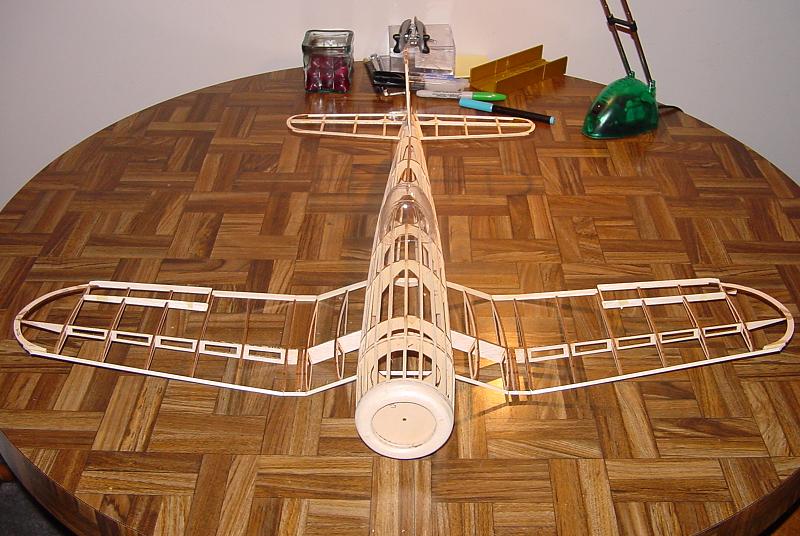
At this point the Corsair is essentially built up
completely stock except for building the separate control surfaces. Since the original model is a free flight
rubber band powered model you have to add control surfaces. I sized the control surfaces based on the
scale outline of the full-scale Corsair’s control surfaces and past model
building experience. Notice that the cowling is actually built up in the same
method as the fuselage. I've got it pinned to the fuselage in the pictures.

This picture shows how I “built” the DX-A out from the
original firewall of the stock model.
This was necessary to get the prop shaft to extend through the front of
the cowling.

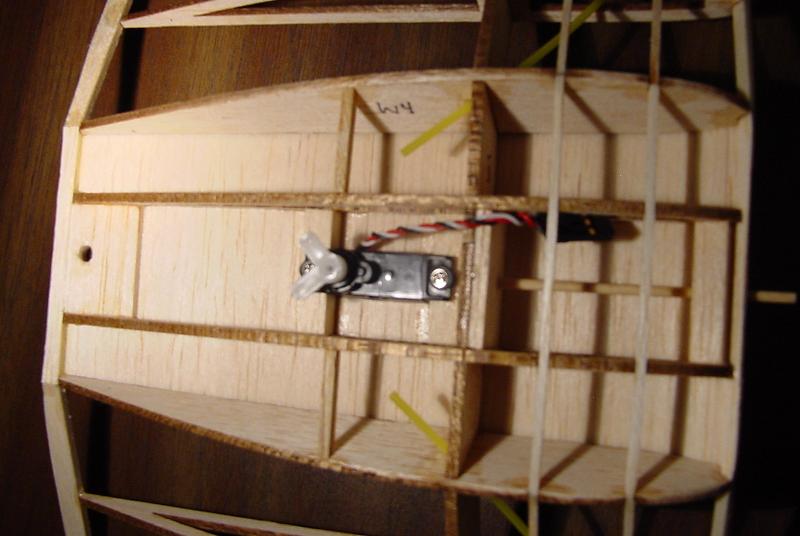
The only reason the aileron servo is mounted where it is,
is so that it would be out of the way of the dowel that I have yet to install
in the wing. The dowel will run from the spar in the middle of the wing through
the leading edge. The front part of the wing will have a dowel that is mated
with a hole in the fuselage, and the back part of the wing will be held down with
a small nylon screw. It would actually be better to have less of a bending
radius in the flex cables, but regardless, it won't have enough friction to
hurt anything the way I have it setup either.
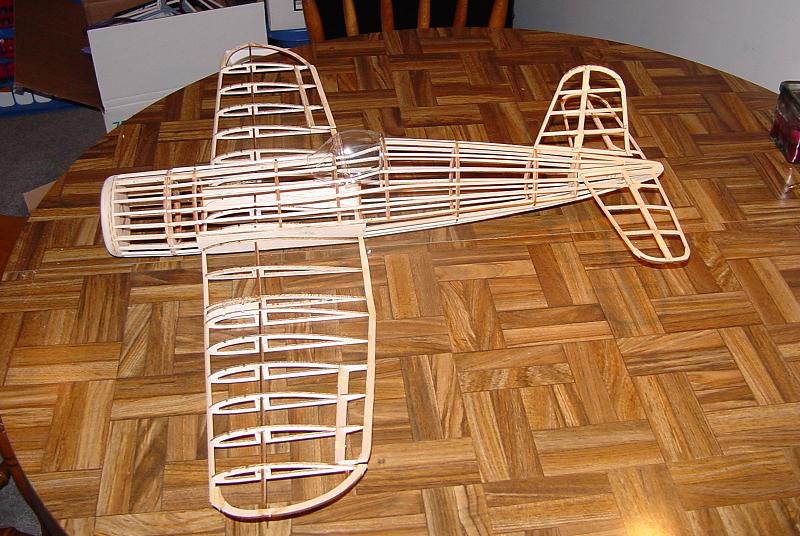
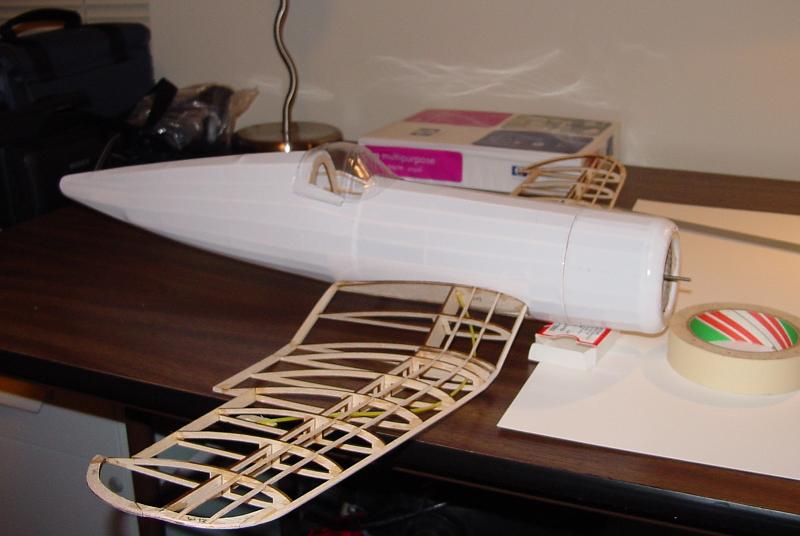
Here's a picture that shows the wing structure completed.
The wing has a 3/32" hardwood dowel in the front and a hole in the rear
for a 8-32 Nylon bolt to go through. The details of the aileron servo can be seen
as well.
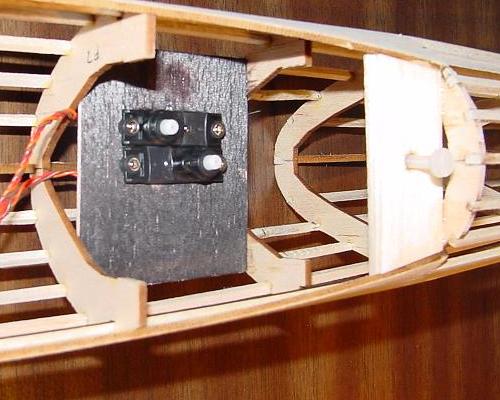
This picture shows the elevator and rudder servos mounted.
The space to the right of the servos is for the GWS receiver. You can see the Nylon
wing hold down bolt too.

This picture shows the wing bolted to the fuselage. The
Herr kit is very well put together, and the fuselage filler piece glue to the
bottom of the center of the wing fits really nice! Woohoo!
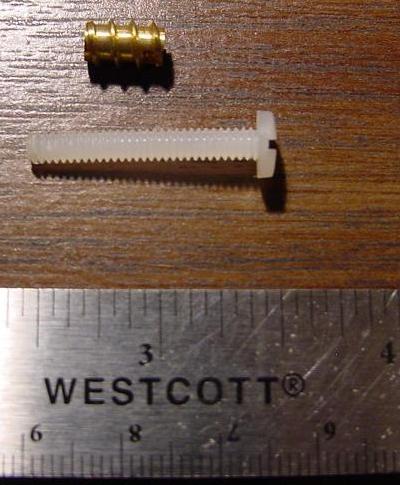
I thought I'd post a close up picture of the Nylon wing
bolt and small brass threaded insert. These little brass inserts work really
well. I've used this same system in my Bearcat, and the wing has not came off
yet. The wood block glued to the fuselage has to have a hole drilled to the
minor diameter of the outer brass insert thread, but no big deal. Just drill
the hole through the wing and through this block in the fuselage and the
alignment will be perfect every time. After I get the brass insert in the wood
block I hit it with some CA to keep it from working loose.
This picture shows the plane partially covered. I chose white Nelson Litefilm, AKA Solite
for the covering material (0.6 oz/sq. yd).
We’ll talk more about the paint scheme later.
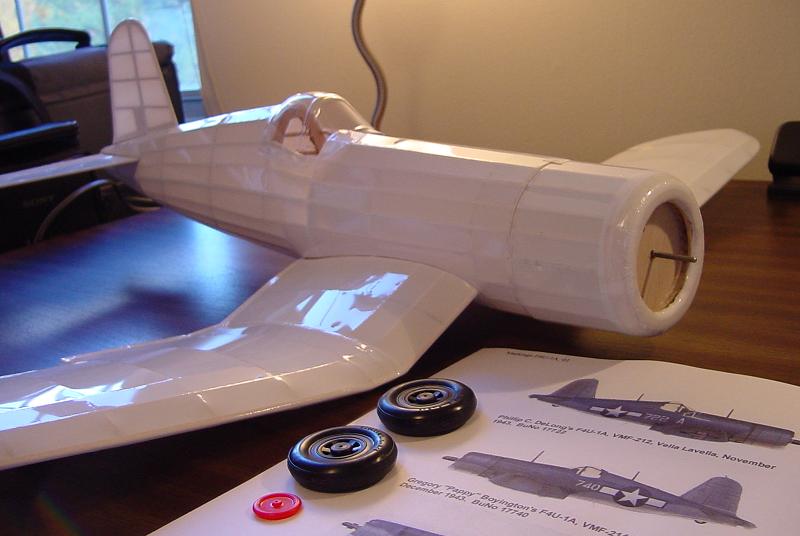
The Corsair is completely covered and the wheels you see
are Guillow's wheels that I ordered from Dumas. The red one is for the tail wheel
and needs some paint really bad.
I don't have an airbrush so I got some 1/8" wide
plastic tape to do the irregular outline of the light blue sides of the
fuselage and got all that painted. Next I decided to tape all that I painted
the day before off so I could paint the dark blue portion of the plane. I
decided I would peel back a portion of the tape I just applied to see what
would happen and sure enough, the paint comes off with the tape. I even took
the time to rough up the covered plane with some synthetic steel wool to get
better paint adhesion. I cleaned the entire surface with a tack cloth and then
rubbing alcohol to get the surface nice and clean. Here is the problem, Solite
is flexible and Testors paint is not. When the tape was pulled off it would
flex the covering just enough to get the paint to release. So crap, what next
right? At this point I'm pretty damn frustrated, as this project is not turning
out so good. My only solution was to continue trying to make the Corsair look
"half-ass" decent with more paint, or strip all the white covering
off and recover it in all blue like my Bearcat. I decided to just go ahead and
see what I could do with what I have.

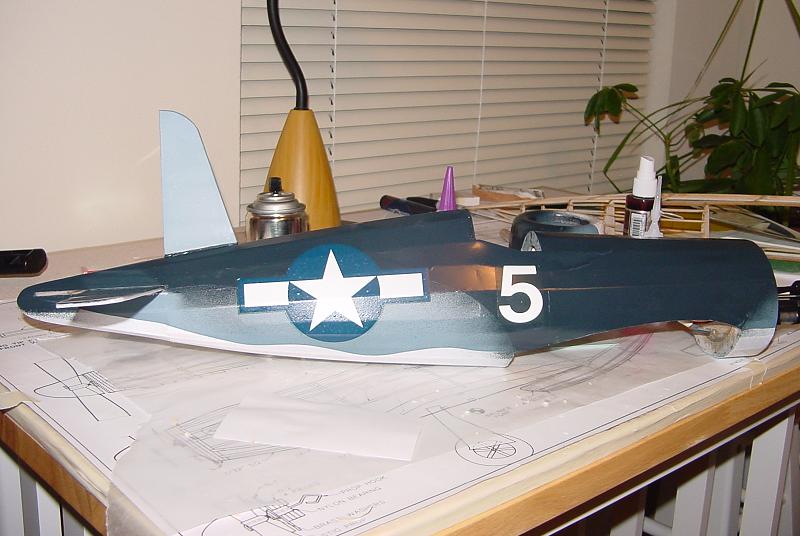
OK, well as disappointed as I was that this project didn't
completely go my way, I'm pretty satisfied with the results.
I use Scotch clear or magic tape for the hinges on all my
flight control surfaces. Haven't lost one yet do to tape failure, knock on
wood. knock knock.
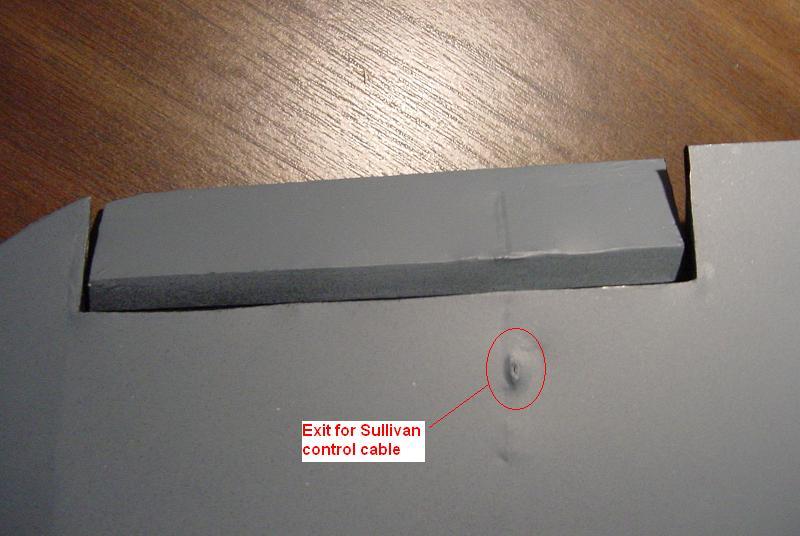
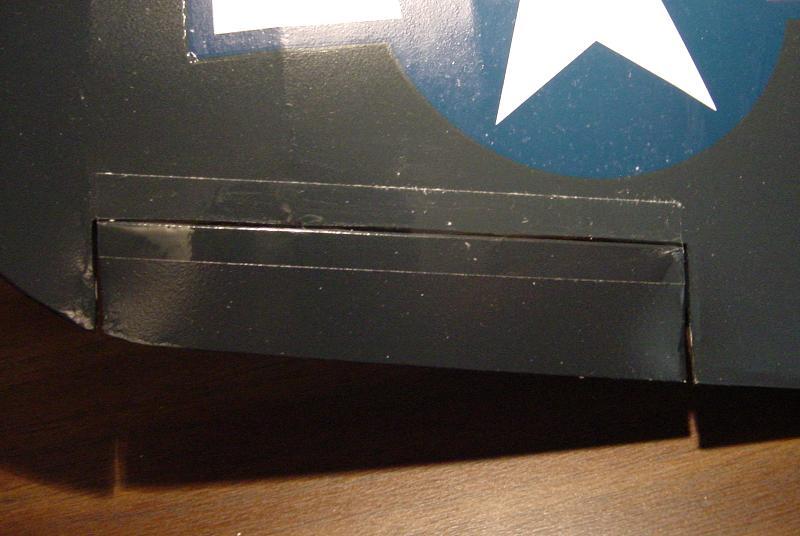
This picture shows the bottom of the aileron. You can see
the point where the cable will exit. Also, notice the chamfer on the bottom of
the front of the aileron. Make sure you have an angle that will allow the
aileron throw you desire. I build some
wood into the aileron so that I'll have something for the control horn to glue
to.
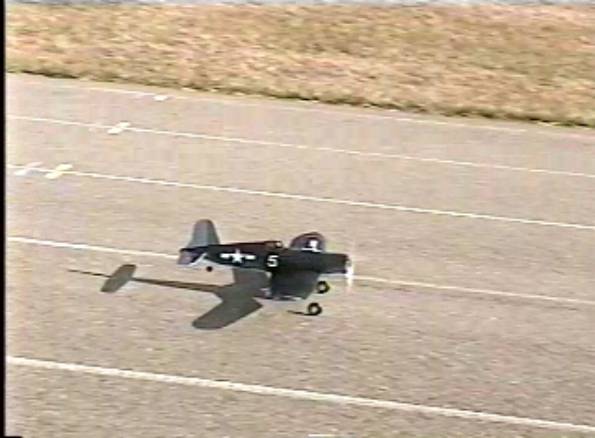
Success! This
picture was captured from my camcorder and shows how the tail elevated on take
off.
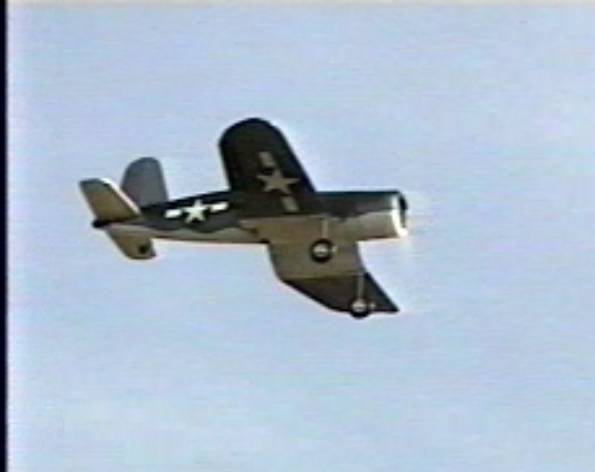
This picture was also captured from my camcorder and shows
the plane on one of its scale looking fly bys.
To see some video of the Corsair in action please take a look in the
parkflyer picture/video download section on www.silentflightonline.com. If you want you can also click the following
link to view it directly.
http://www.silentflightonline.com/Site/Members/ImageBase/Images/866.wmv